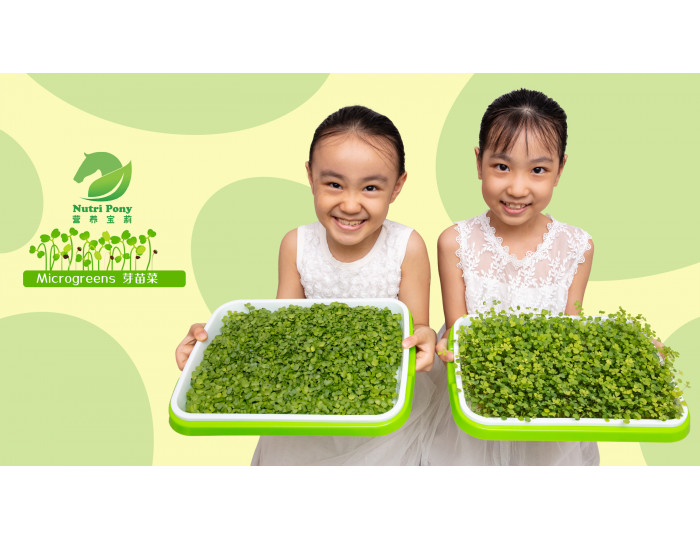
Microgreens Growing Guide
Step 1
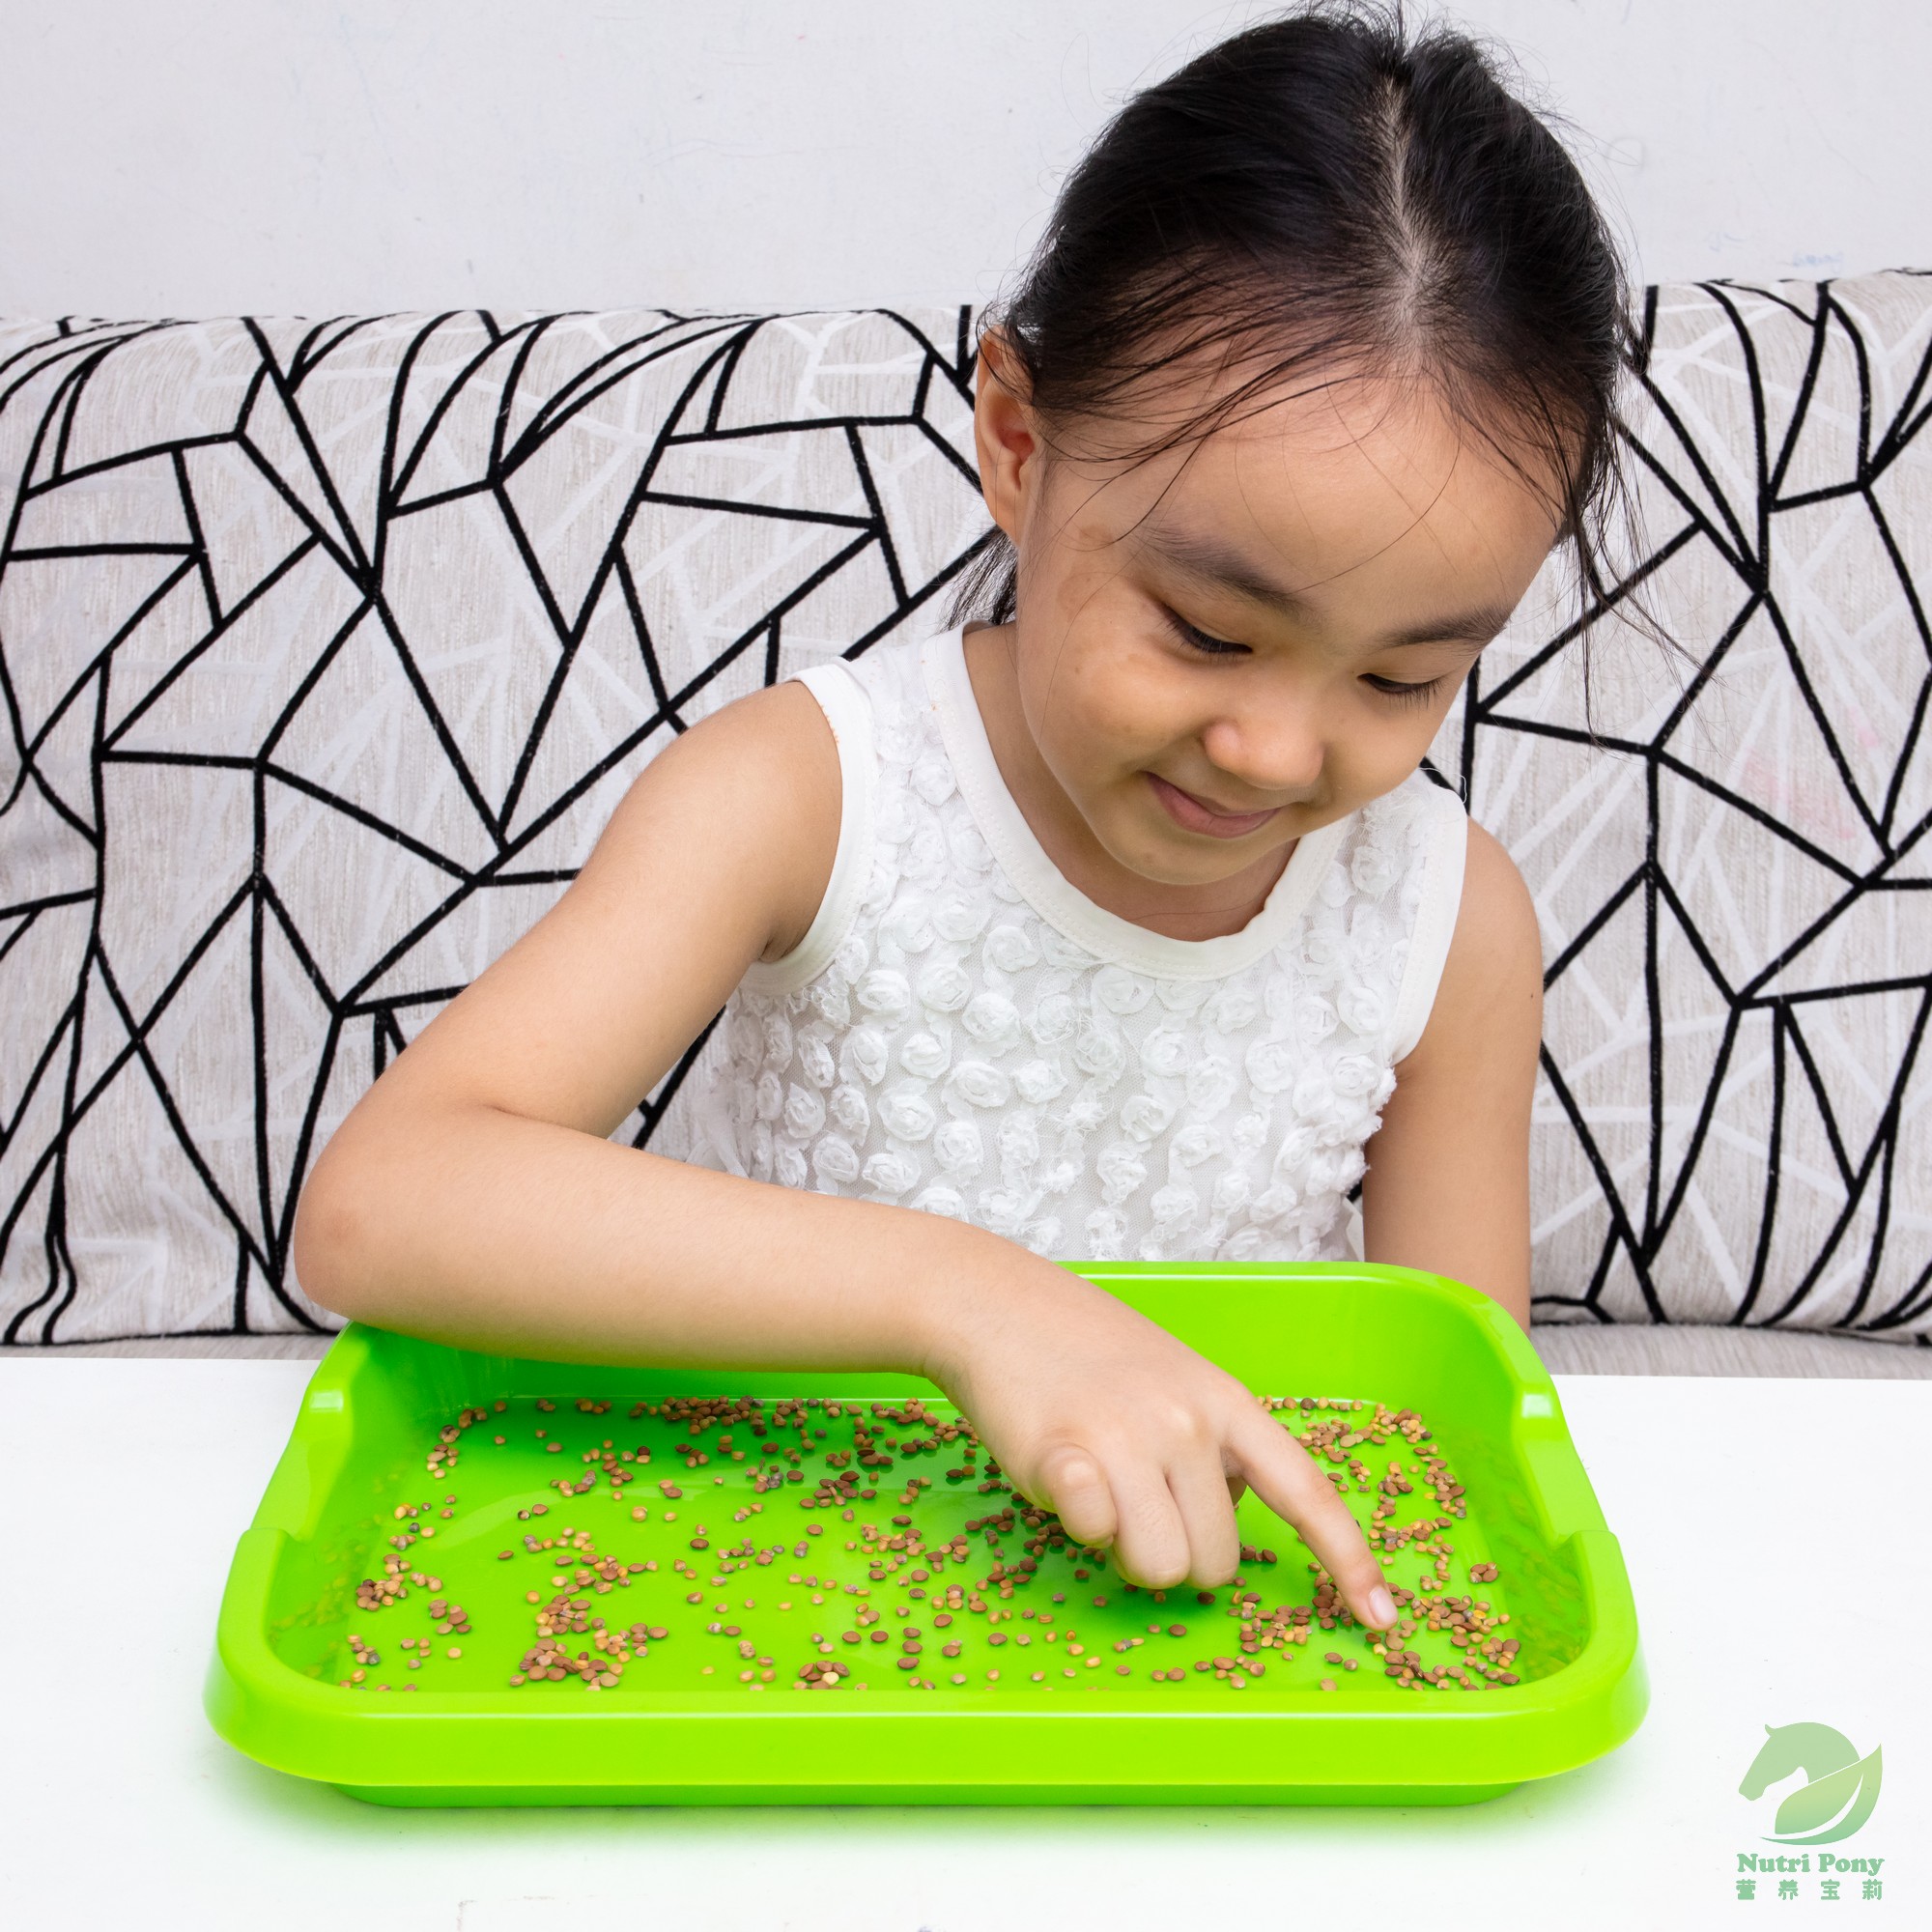
Pick out the bad seeds.
Step 2

Soak the remaining seeds with water.
For seeds required to soak, rinse the seeds with tap water first before put it into the bottom tray to soak.
If you have eco enzymes at home, you can add 1ml of eco enzymes to 500ml of water. The eco enzymes can eliminate harmful bacteria on the seeds and help the seeds grow healthily.
Please refer to the growing chart for seeds required to soak.
Step 3
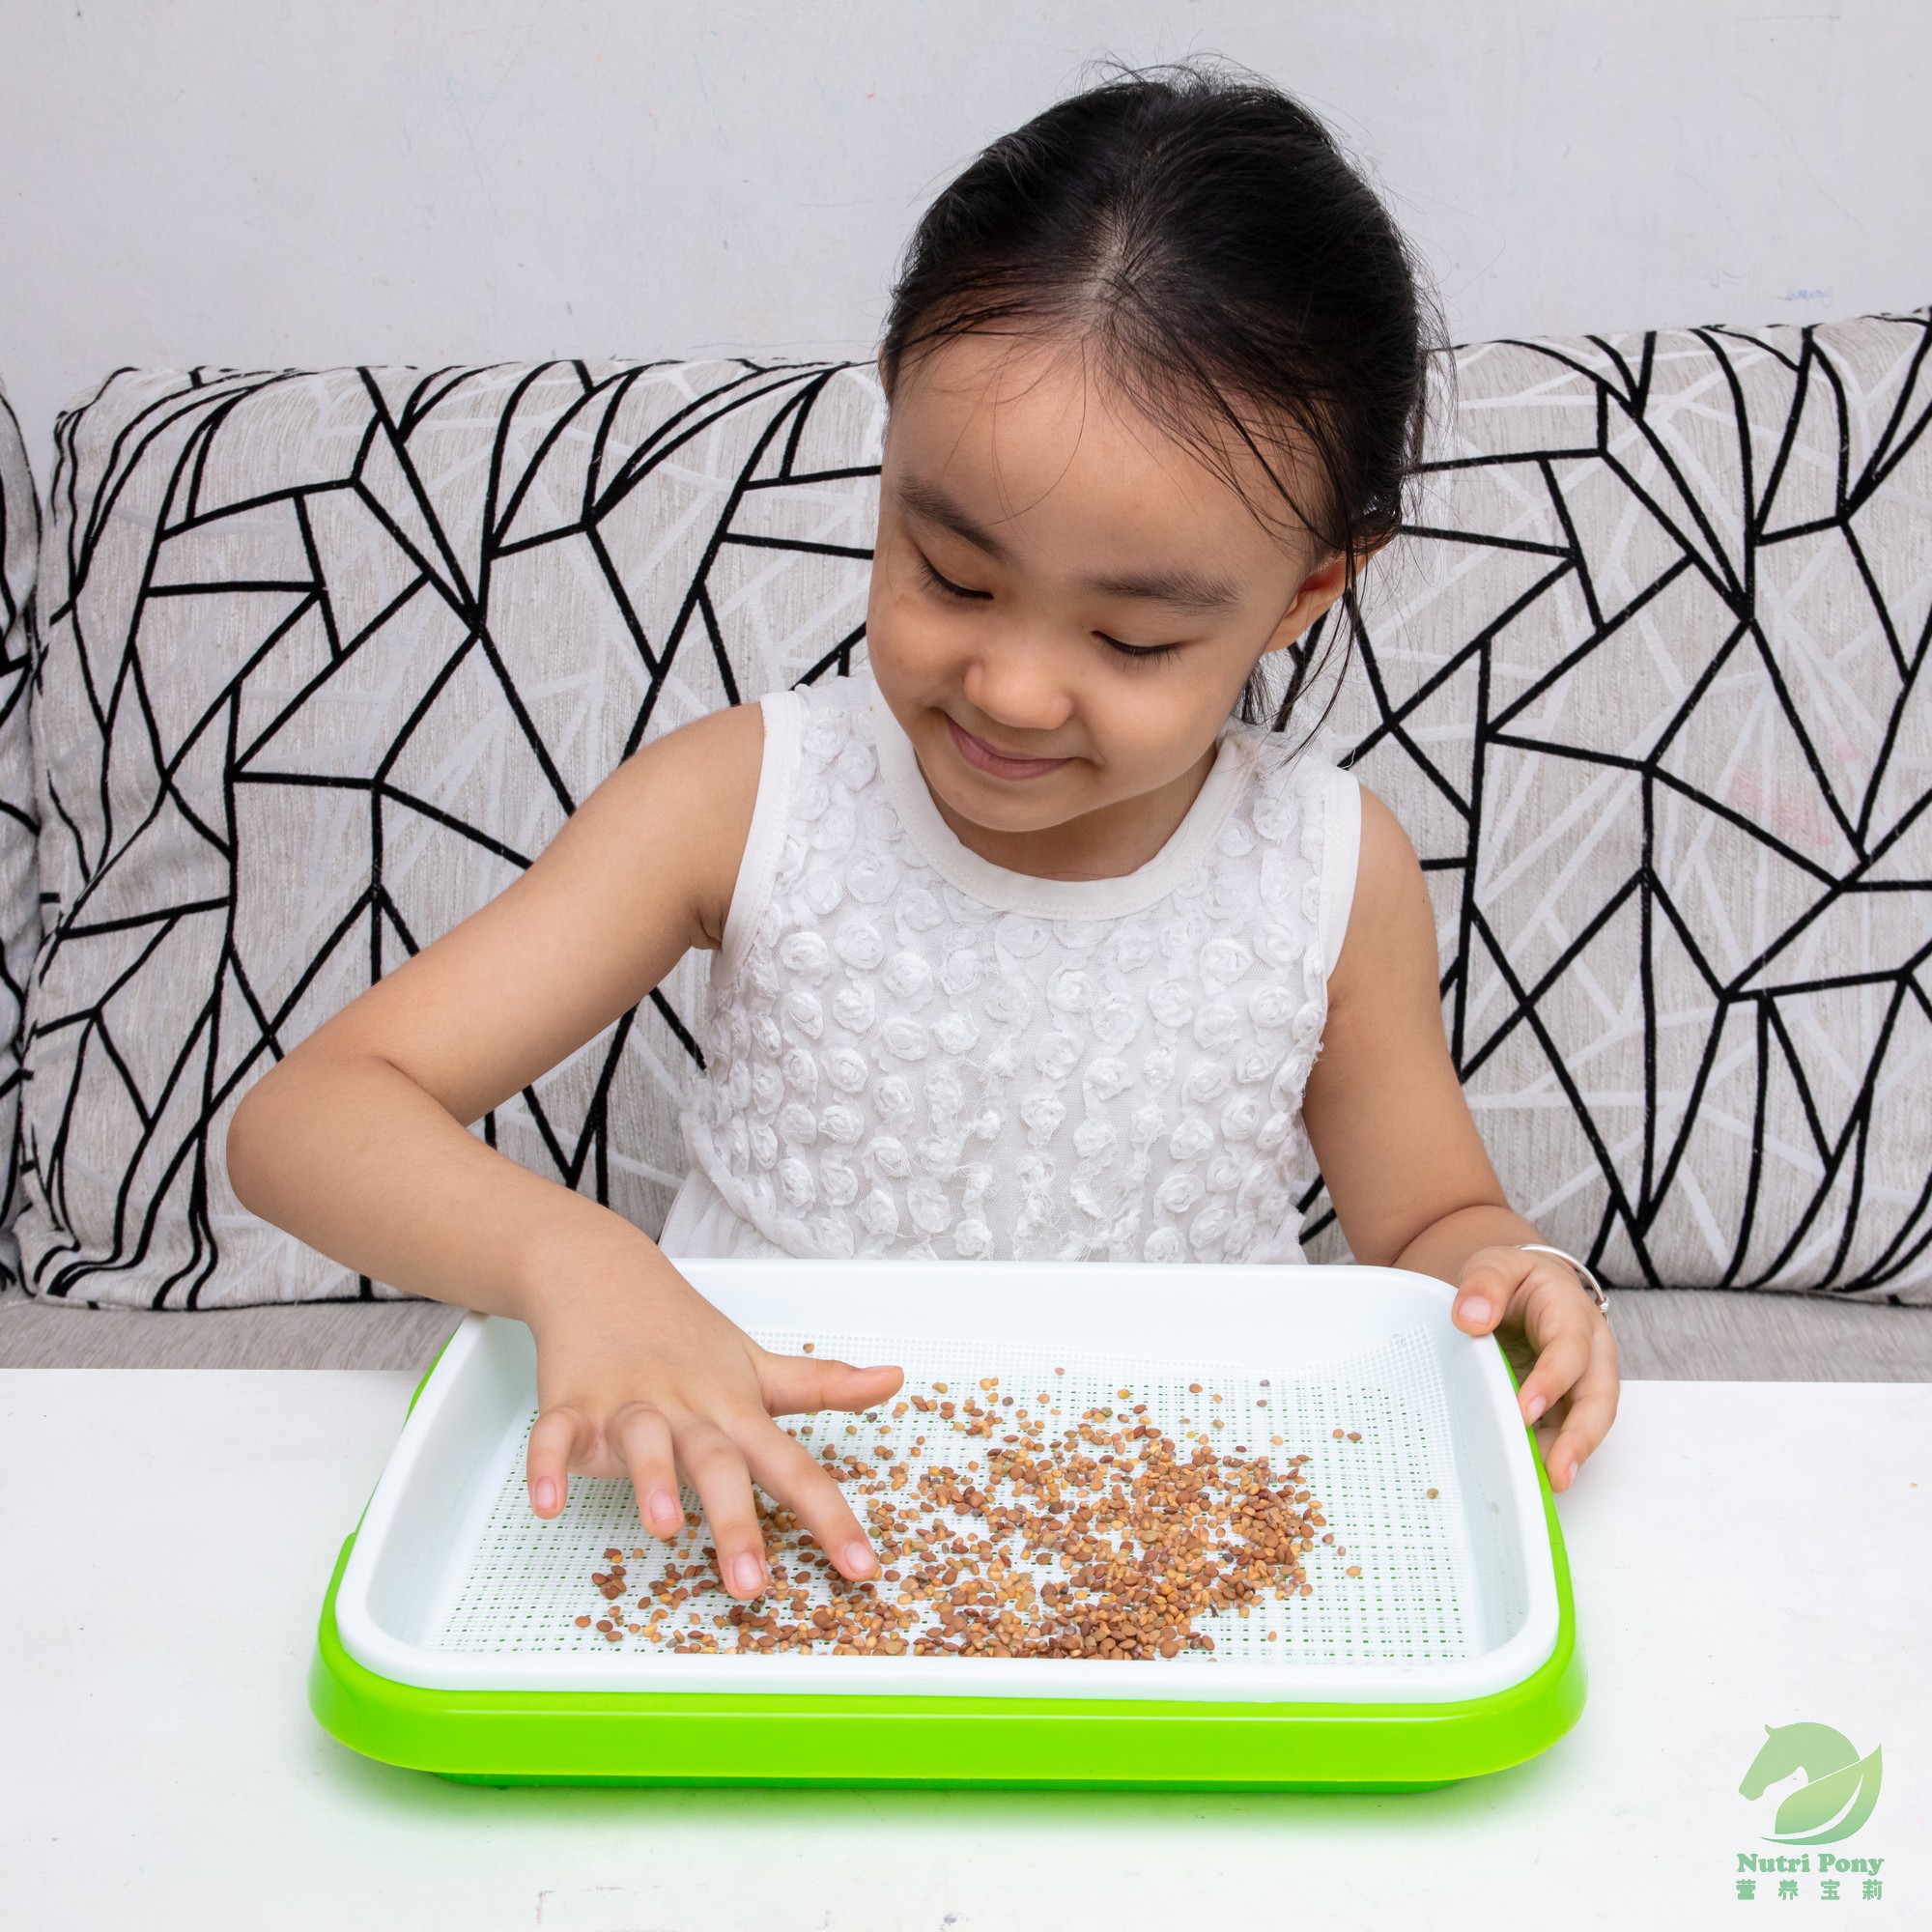
Spread the seeds evenly on the grid tray.
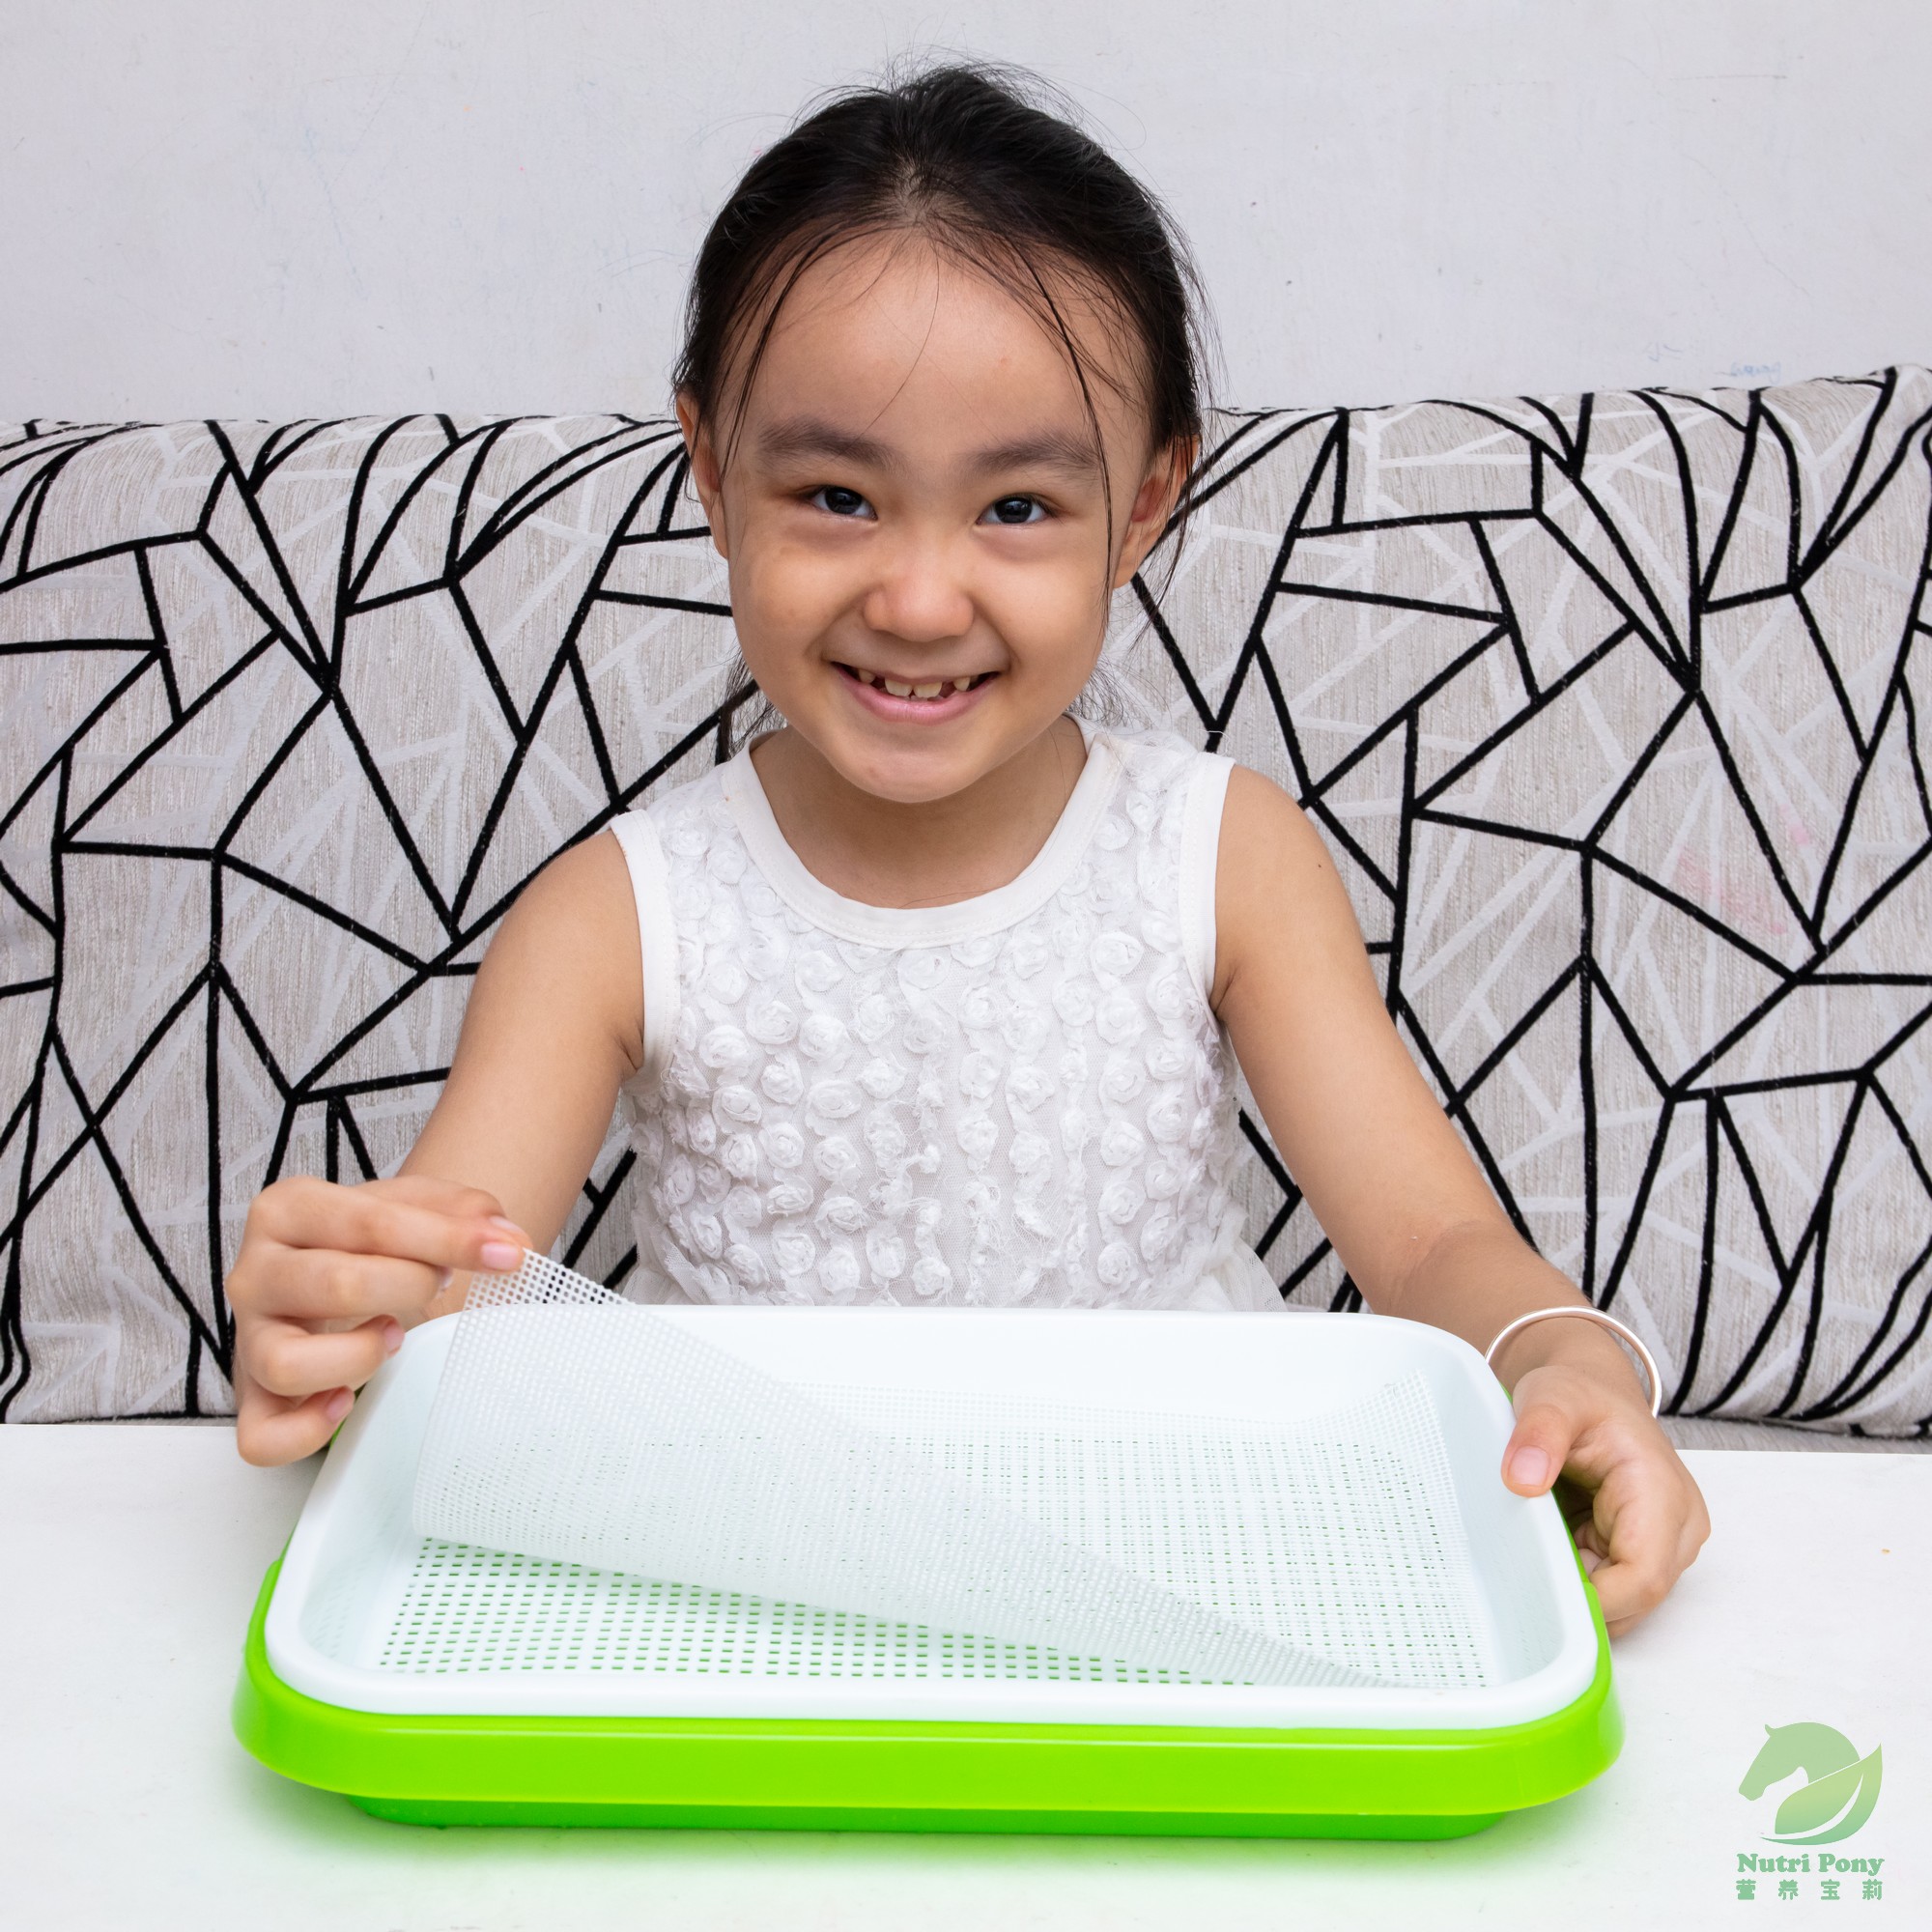
Small particles of seeds need to be spread with nursery paper or kitchen paper or fine silicone mesh (reusable, additional purchase) to prevent seeds from leaking into the bottom tray.
Step 4
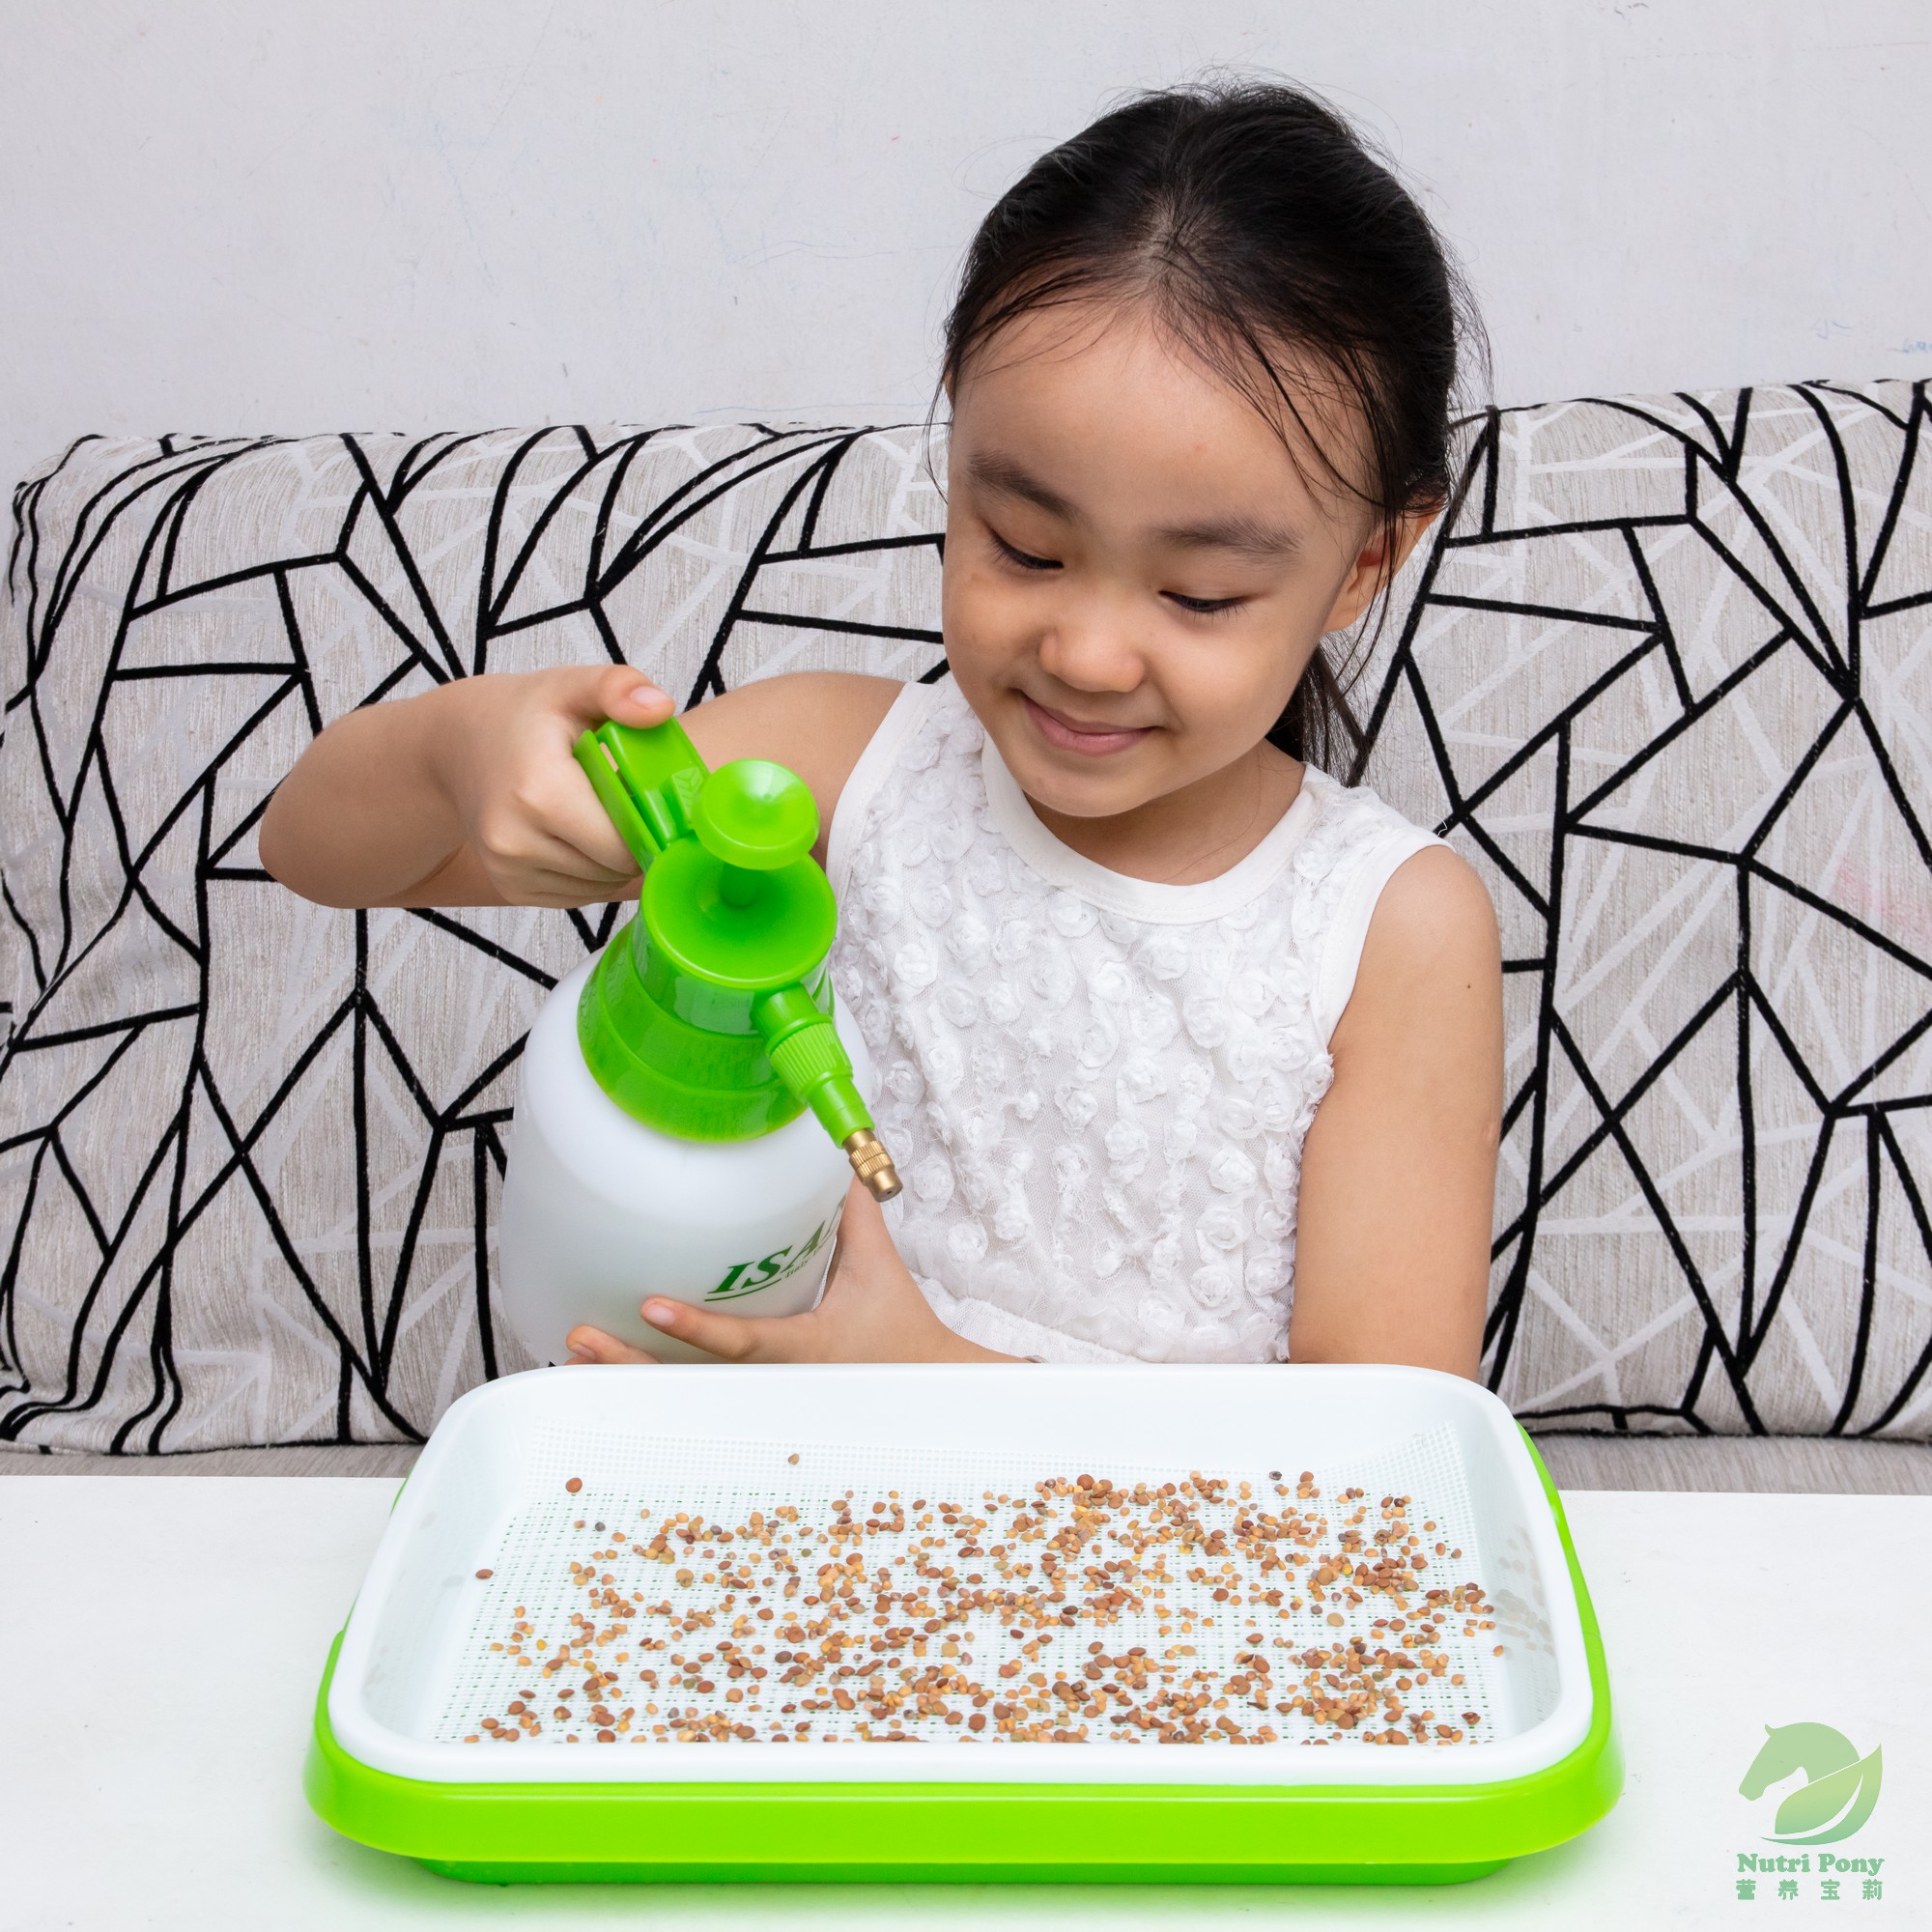
Use a spray bottle to spray water on the seeds to keep them moisturized. Do not spray too much water, just keep the seeds moist. Make sure that there should be no accumulation of water in the grid tray, else the seeds will become moldy and rot.
Step 5
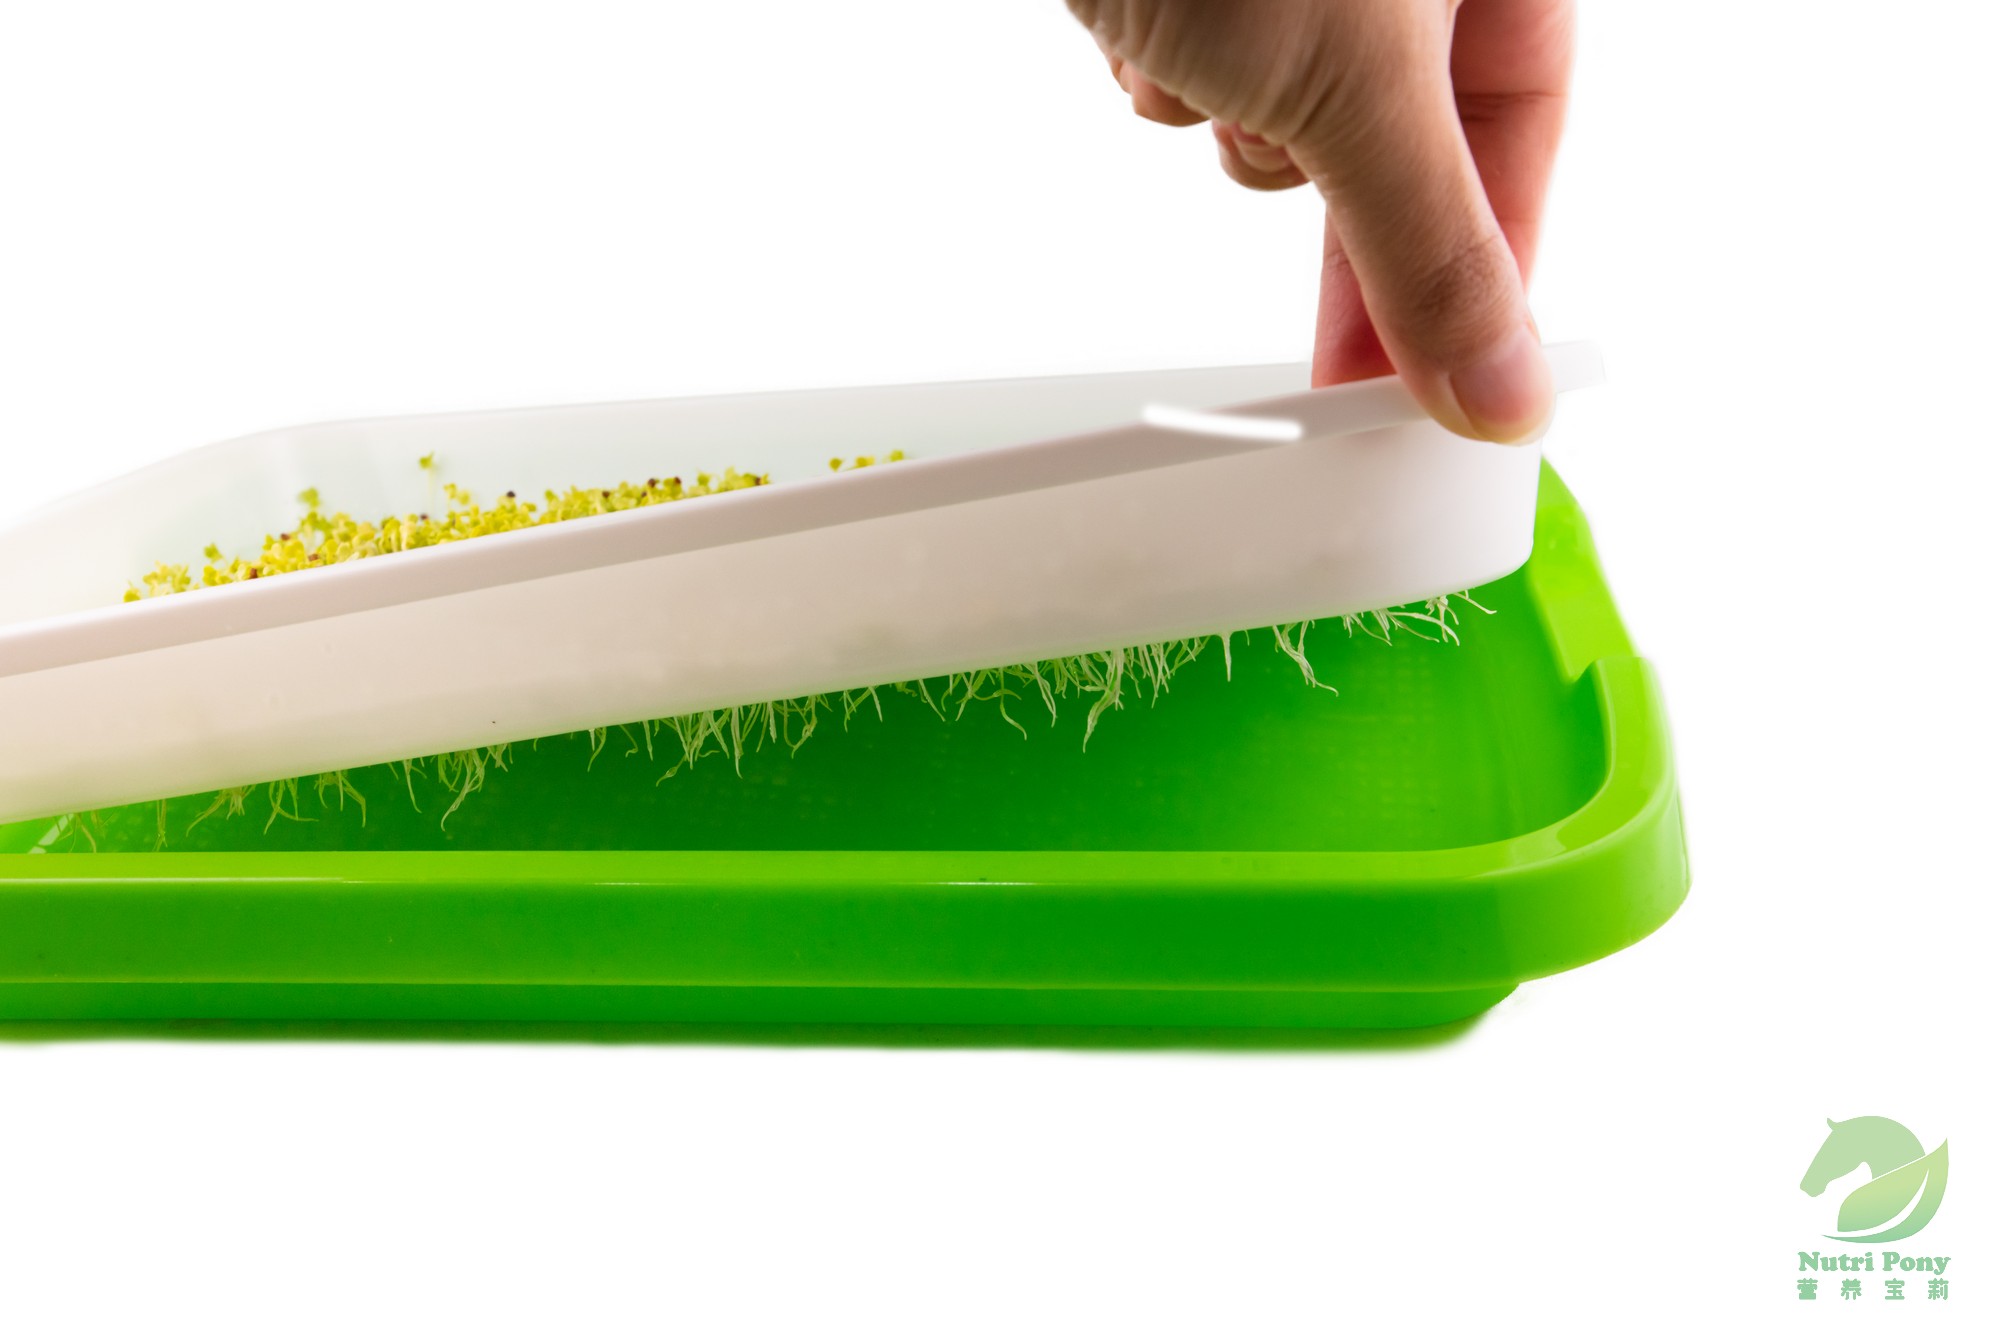
After each spray of water, tilt the grid tray 30 to 45 degrees, and maintain it for about one minute, so that the accumulated water of the grid tray can flow into the bottom tray. You can slightly tap the bottom of the grid tray with your fingers to drain the water out.
Step 6
Stack up the seedling tray to accelerate the germination, or spread a layer of nursery paper, kitchen towel or gauze on top of the seeds, and then spray water on it to moisturize. Afterwards, place the seedling tray in a dark place and avoid light to promote germination. Spray water two to three times a day.
Step 7
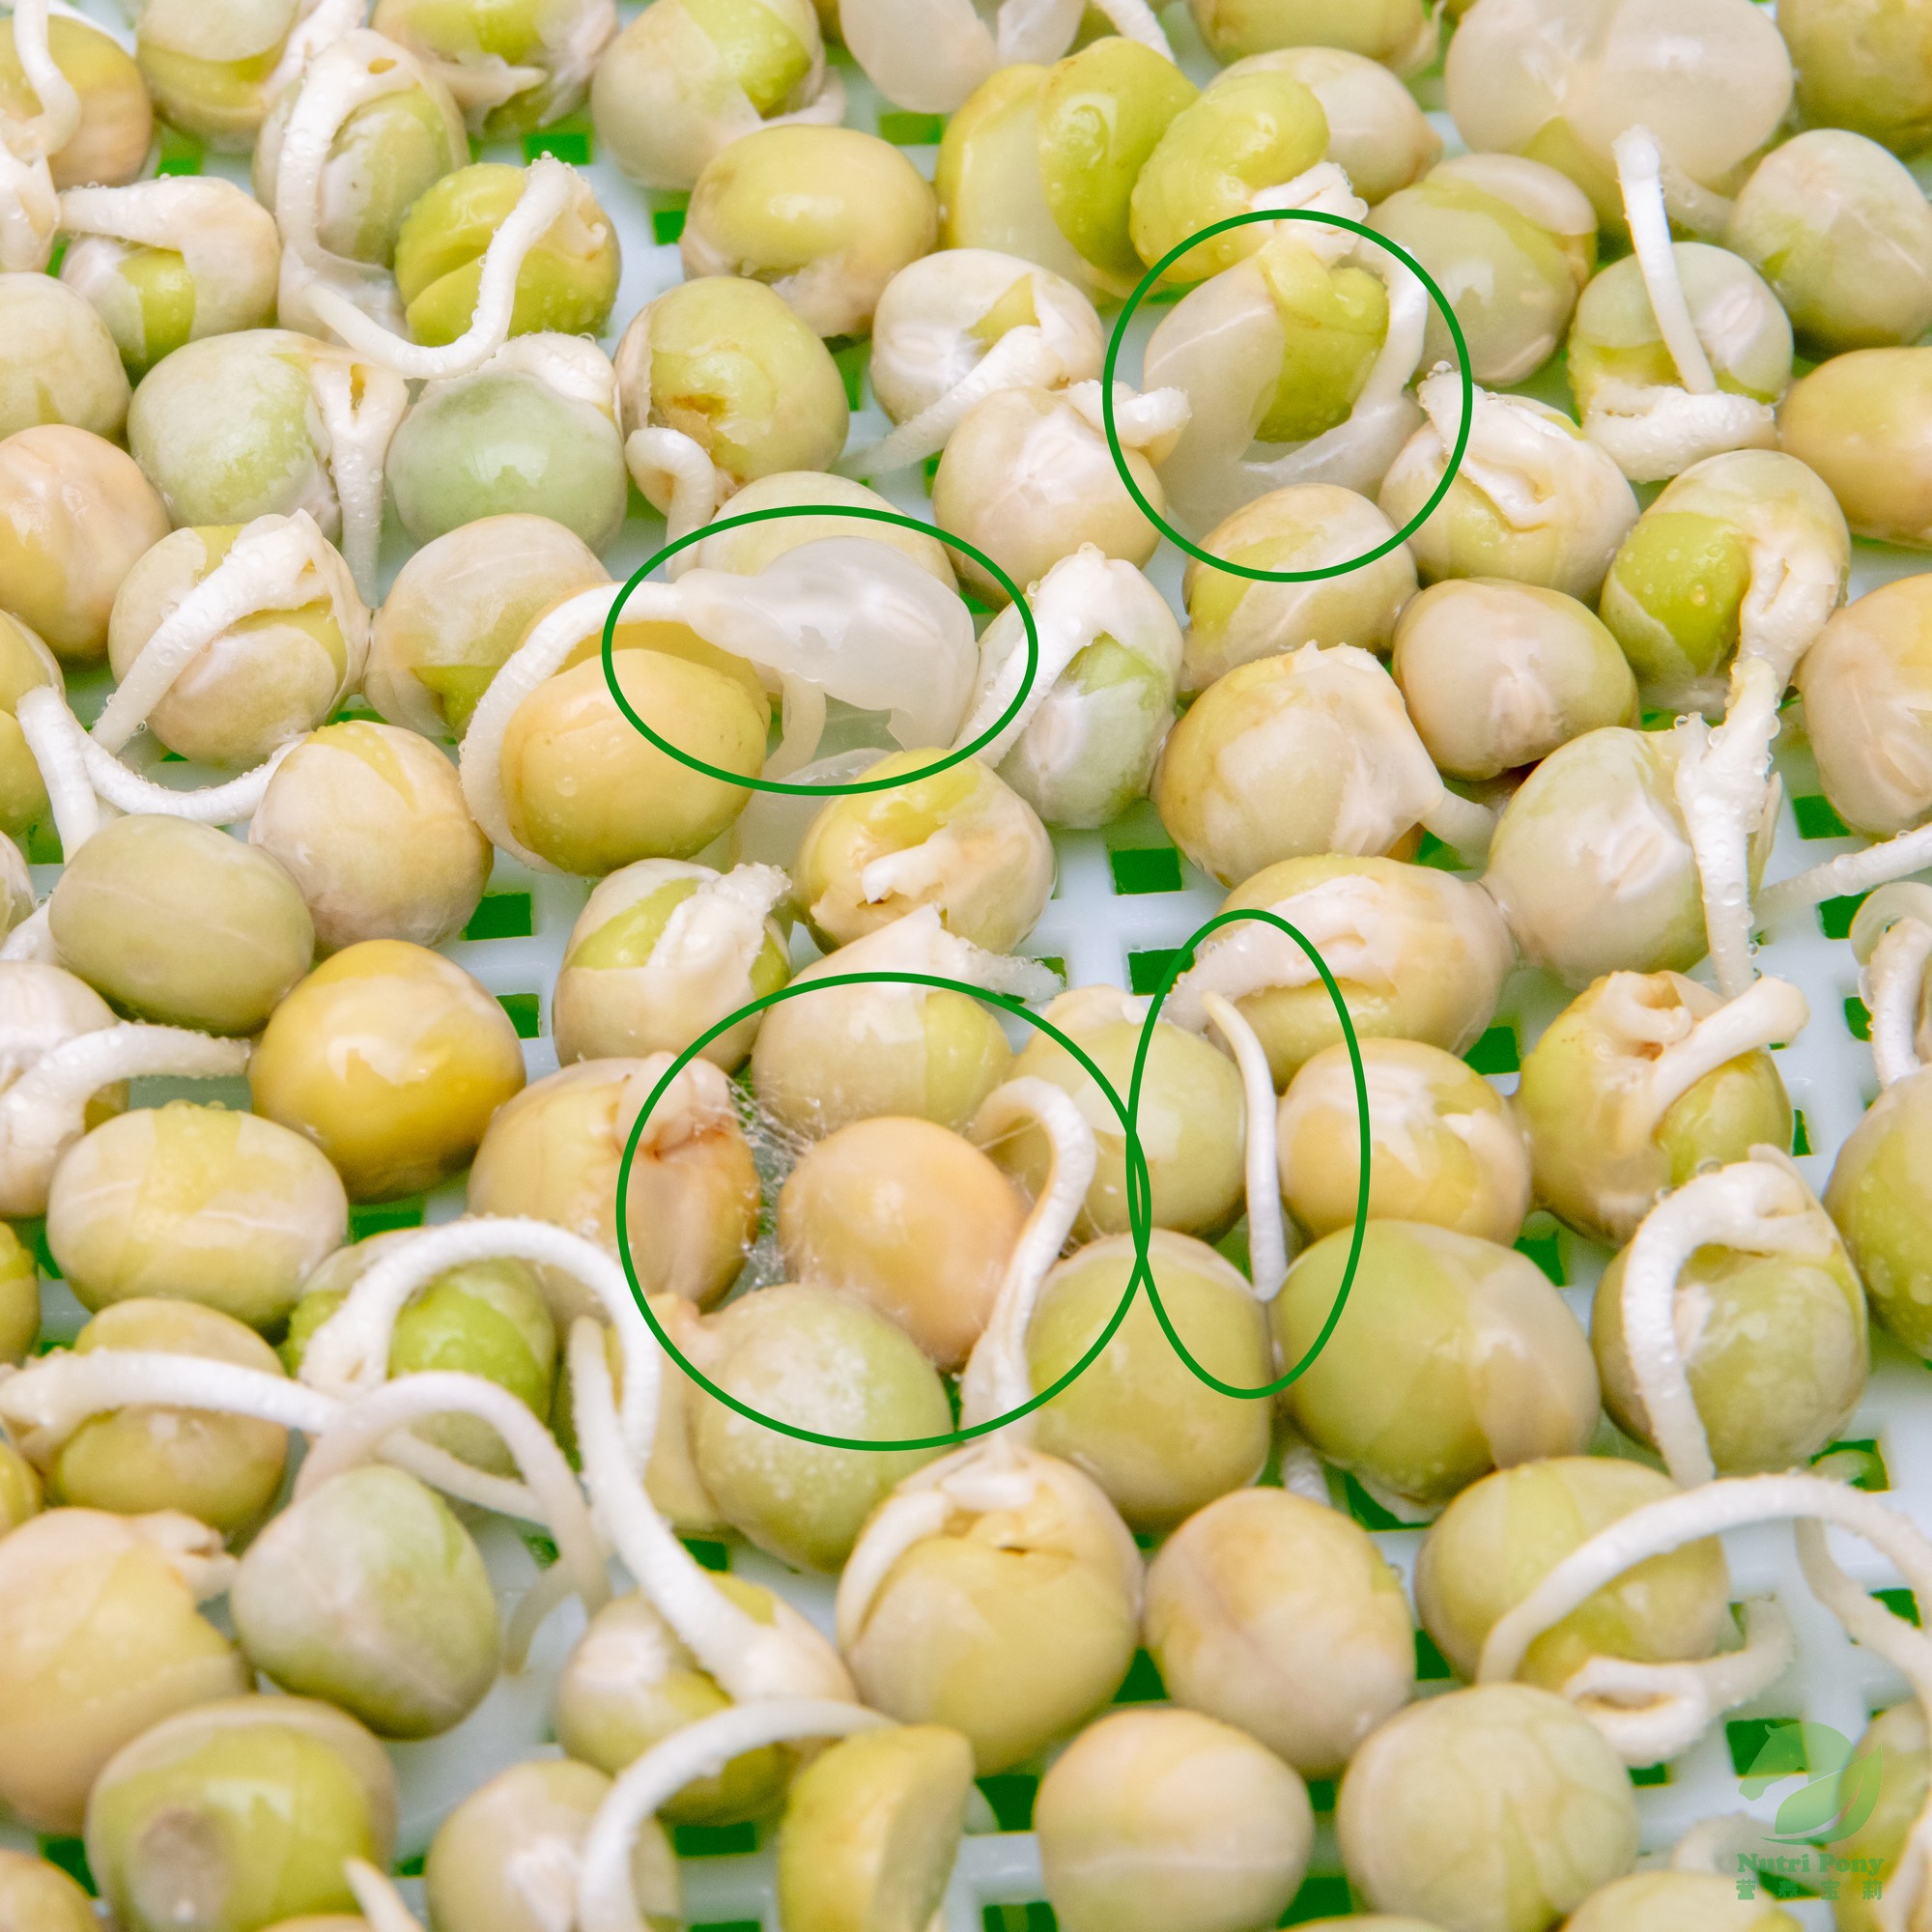
If moldy, rotted, or seeds that have not germinated after two days of germination are found during the germination process, remove them. Occasionally, some of the roots are covered by the peeling skin, which can be removed. In addition, if some roots grow upward, you can also insert their roots into the grid.
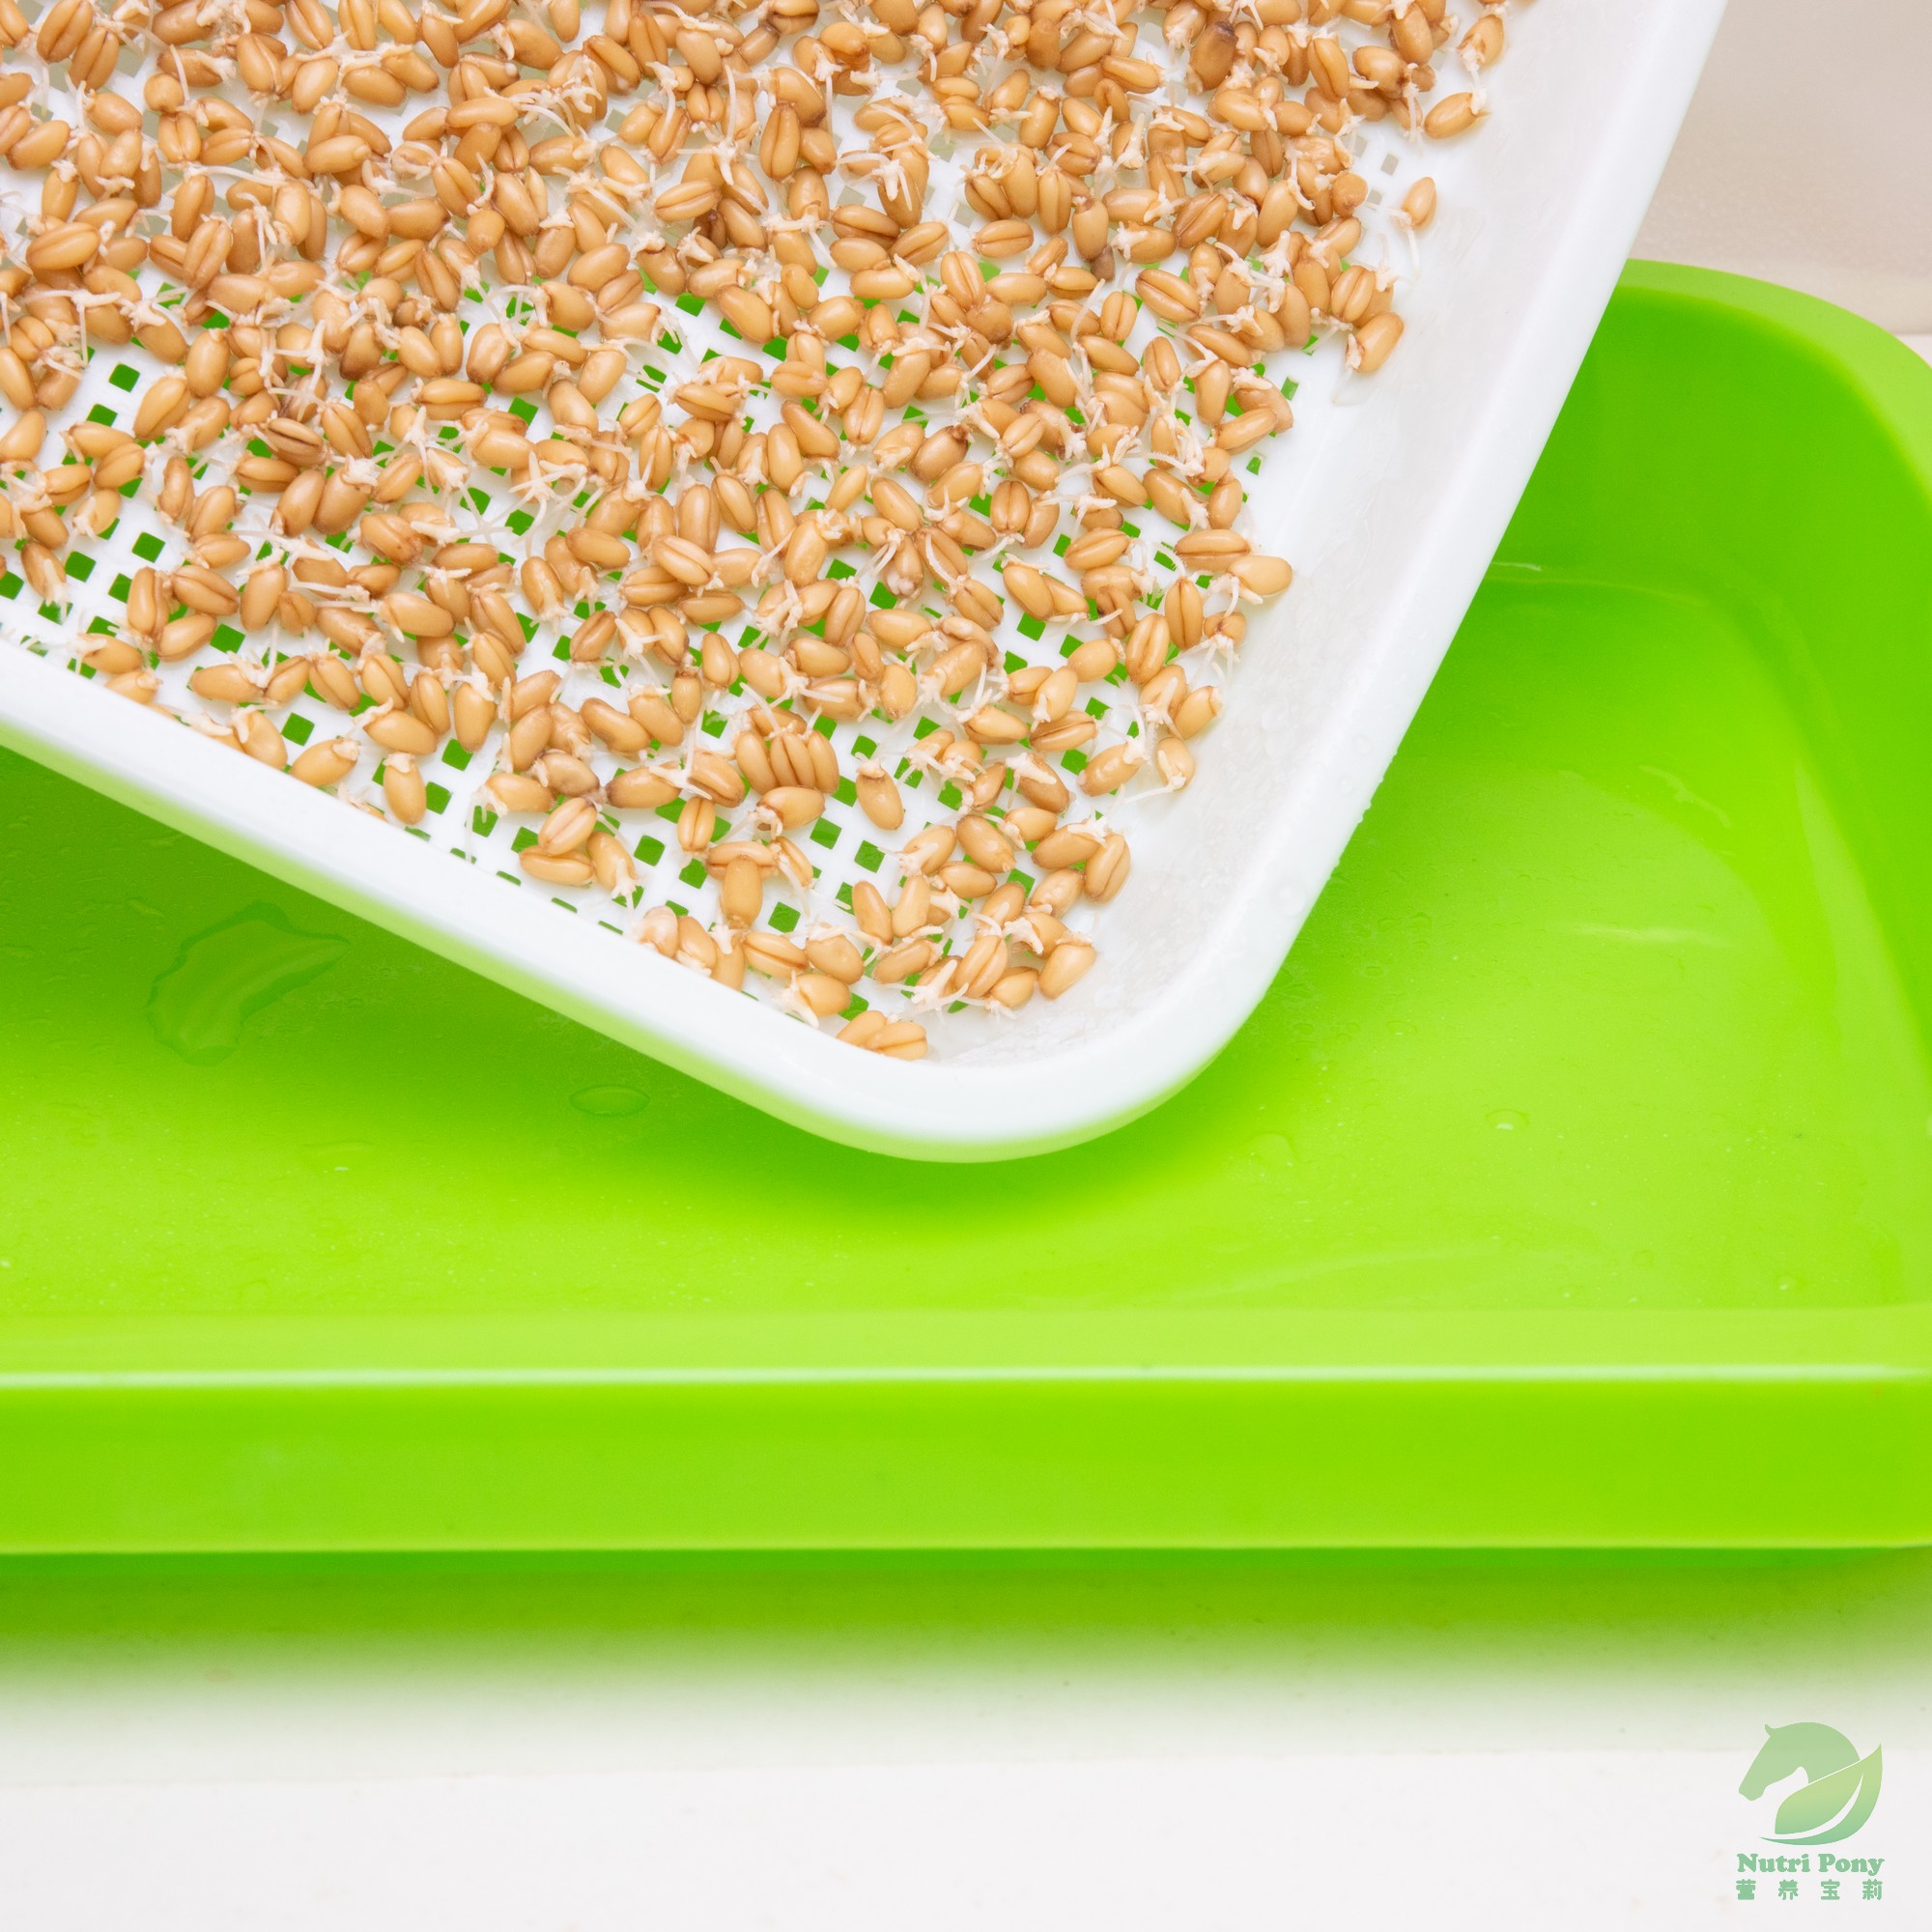
Step 8
When the roots appear at the bottom after two days of germination, add about 200~300ml of water to the bottom tray, but the water should not fill the grid tray. If you have eco enzymes, you can also add them to the water. The ratio of water to enzymes is 1000:1.
For the first two days after adding water to the bottom tray, keep spraying water two or three times a day to moisturize the seeds that have not yet taken root in the bottom tray. Check the water in the bottom tray every two days, if the water is dirty, you can replace it, and add water when the water is low.
Step 9
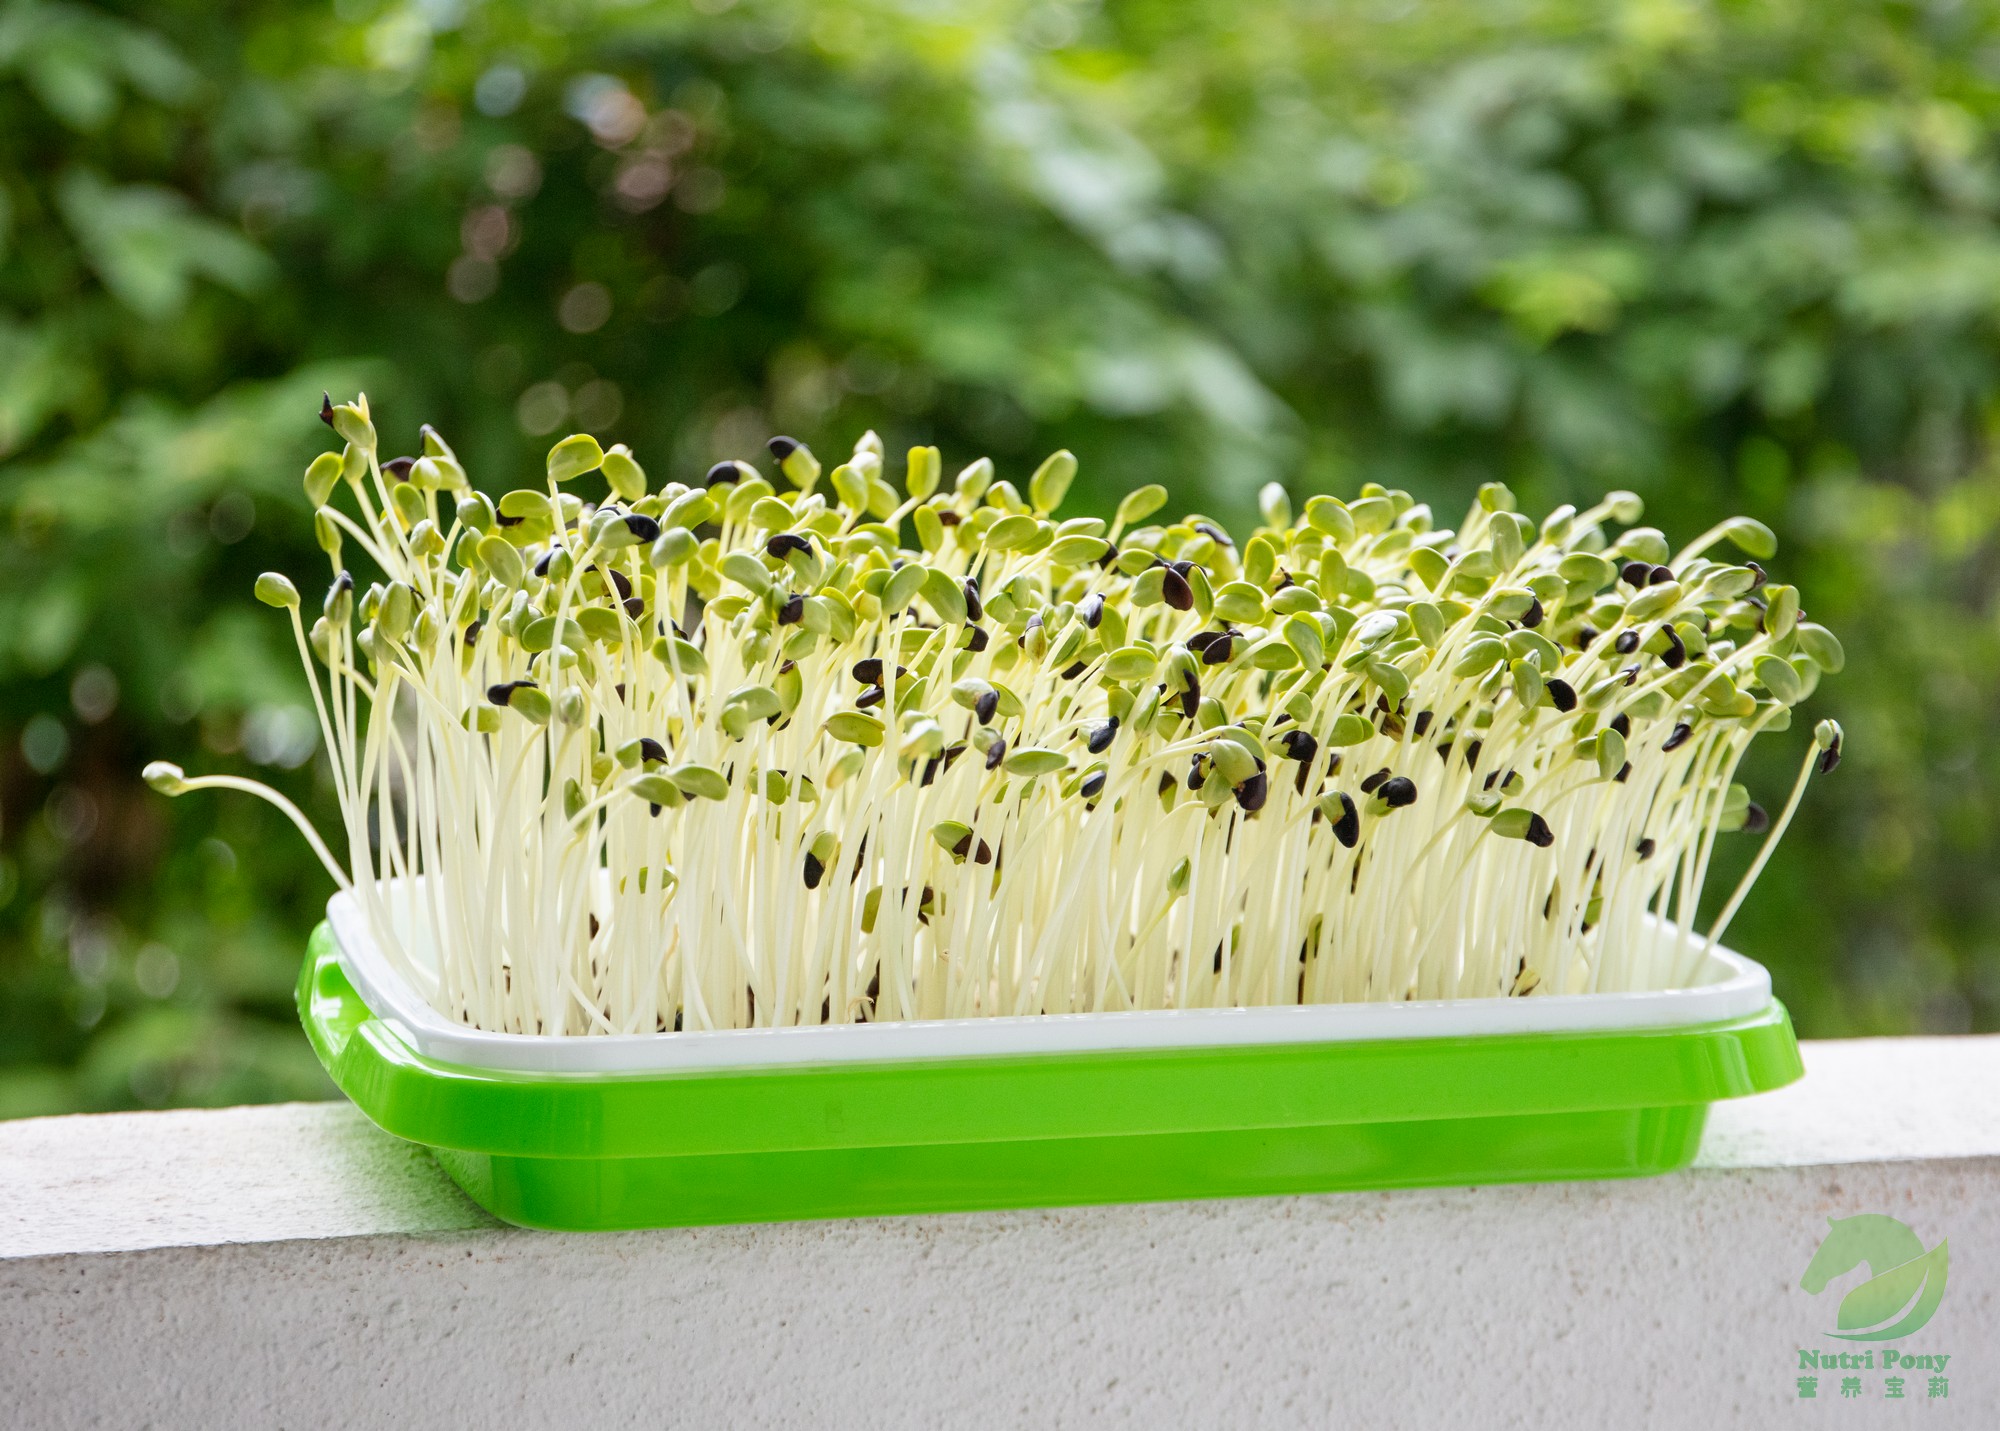
The day before harvesting, you can move the seedling tray to the window or balcony to bask in the sun to increase the chlorophyll of the microgreens.
Step 10
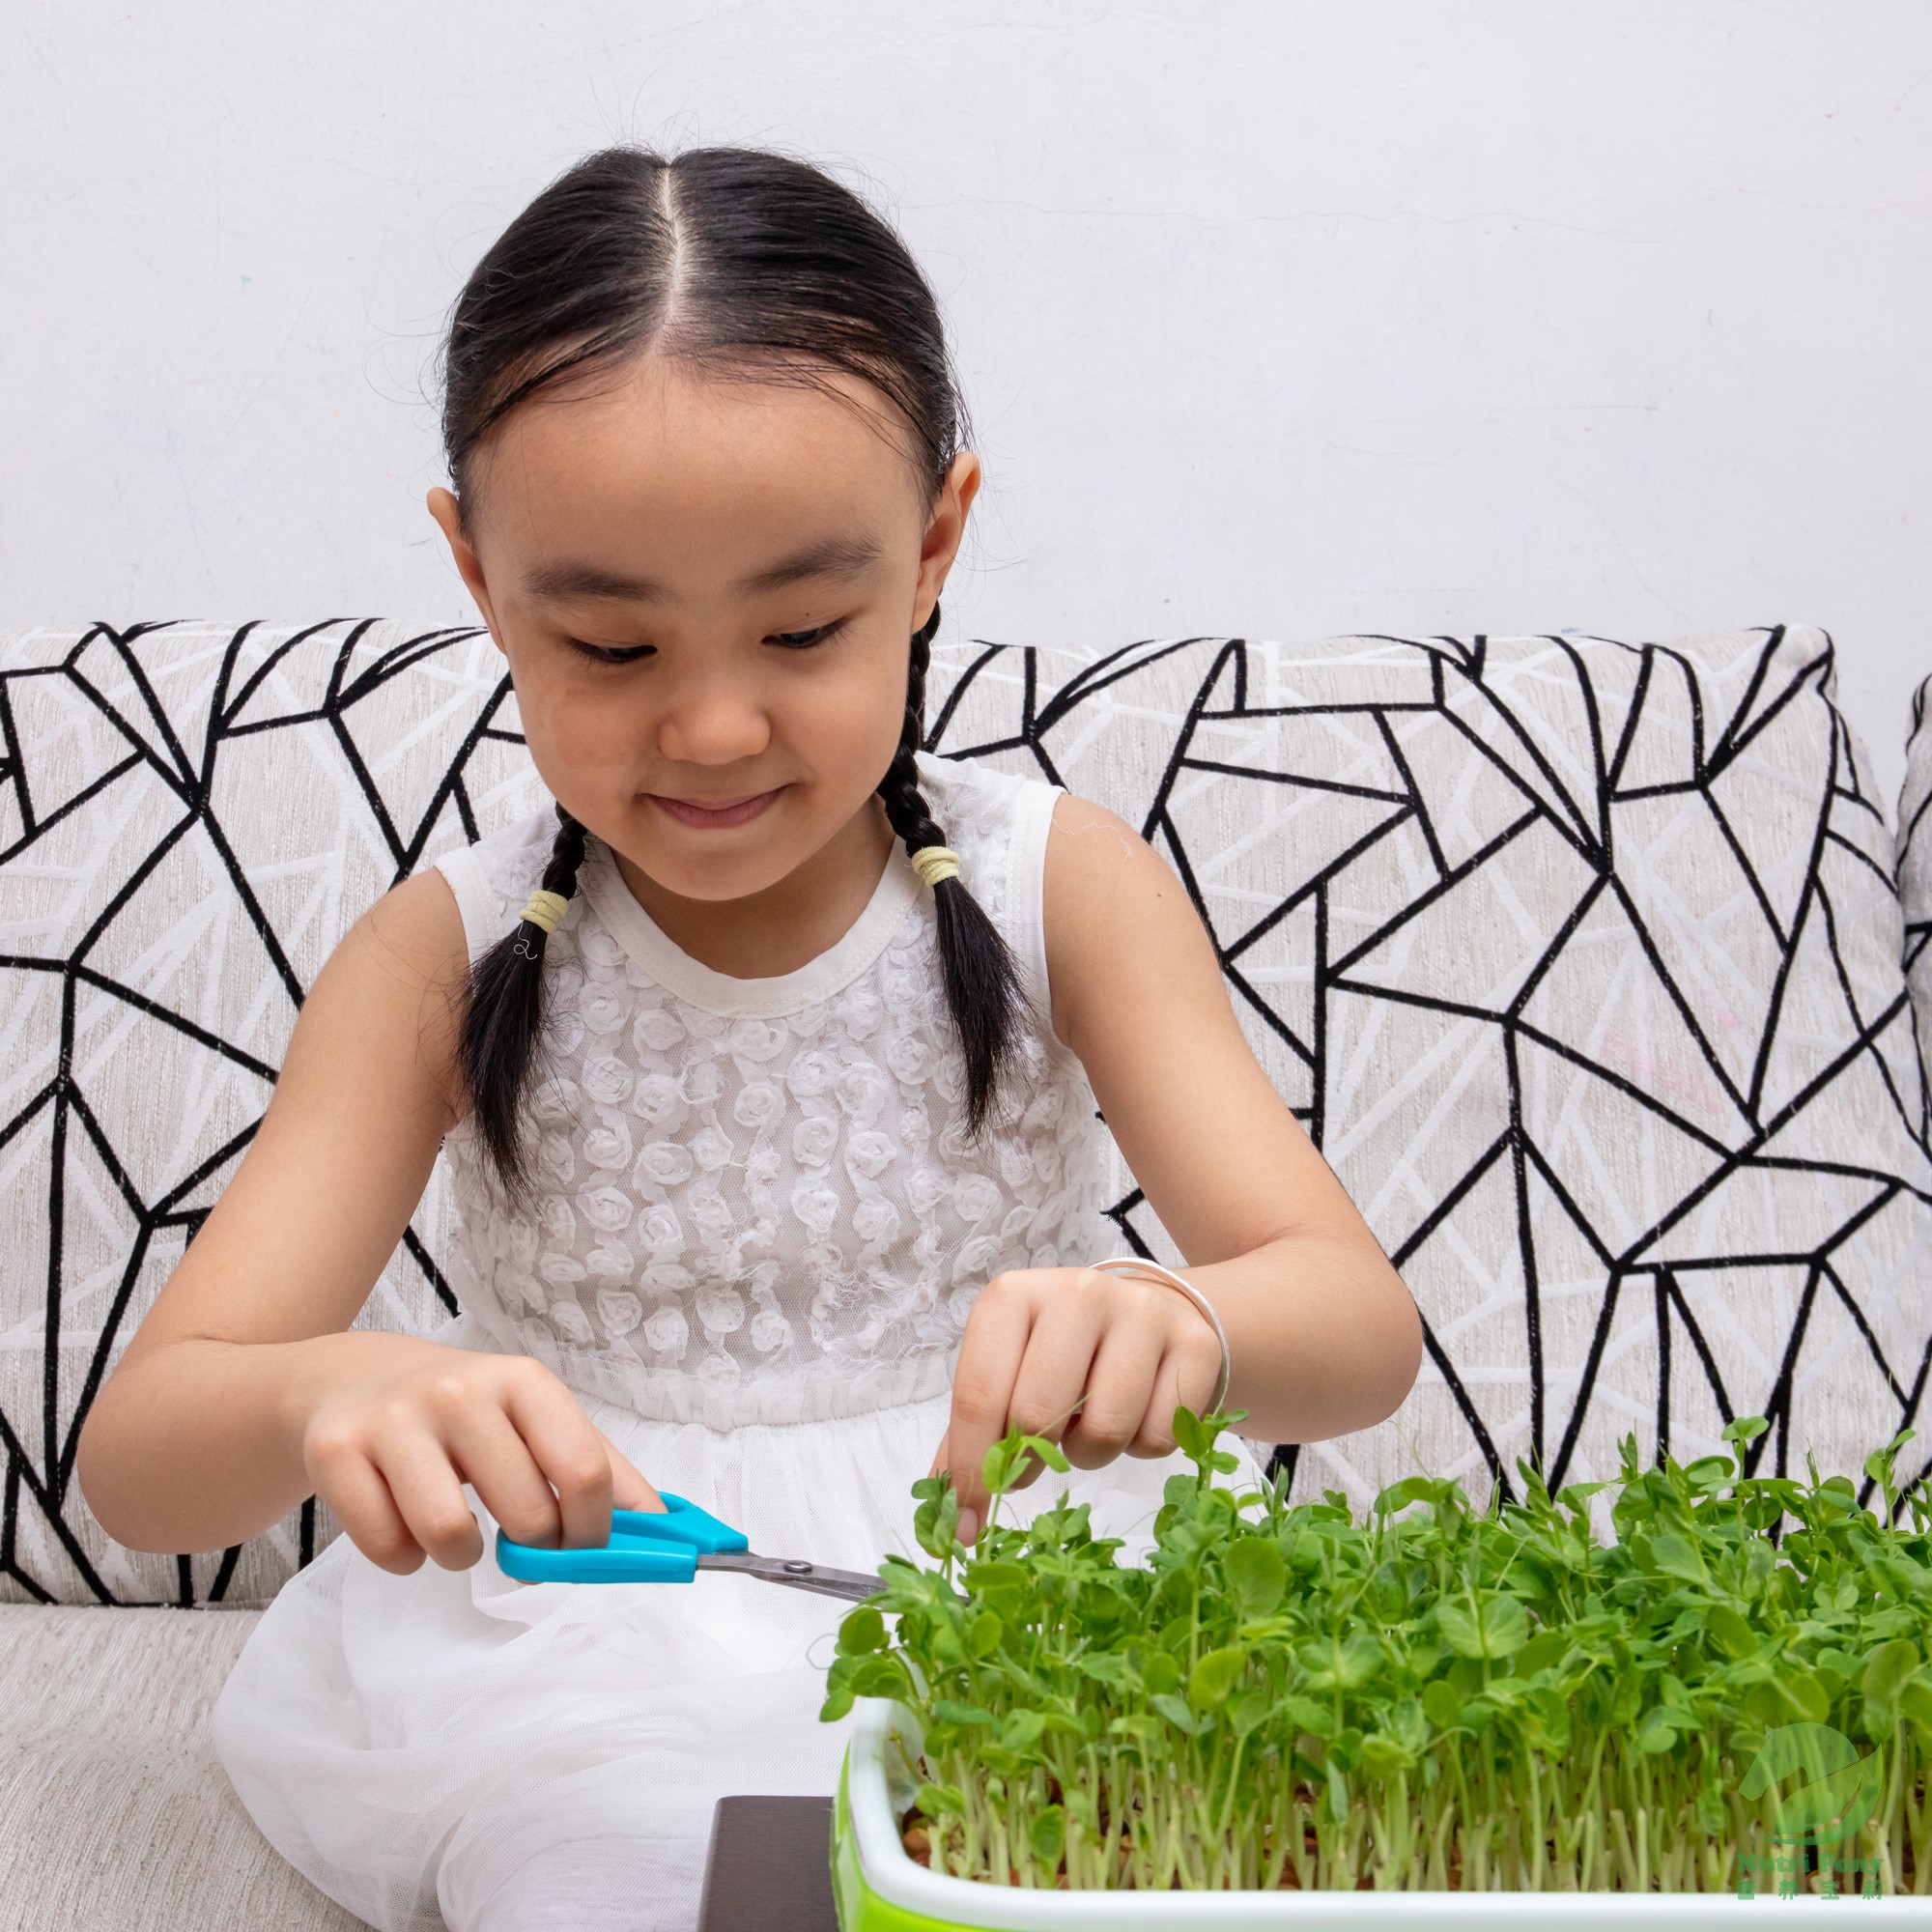
Generally, microgreens are harvested before the true leaves emerge, and the nutrients are most abundant at this time. The leaves that grow from the seeds just after germinating are called the cotyledons, and the true leaves grow from the cotyledons.
You can also harvest at different times according to your personal preferences. The taste will be somewhat different. You can harvest a little every day to try the taste and find the taste that suits your personal preference.
Related Post

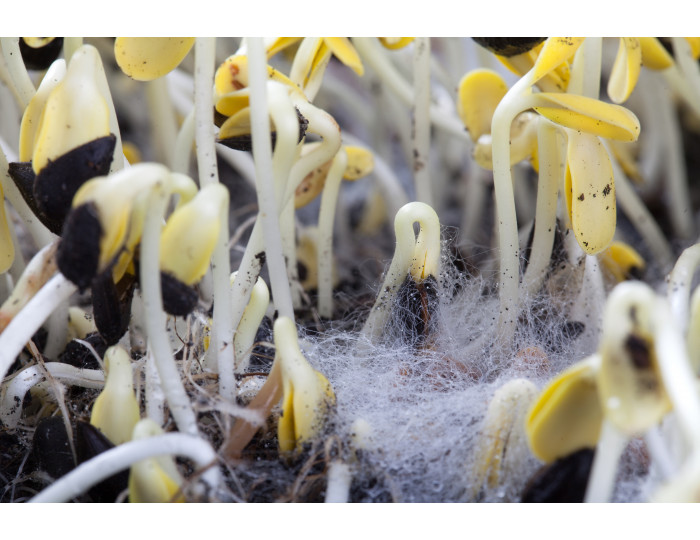
How to avoid mold issues in microgreens?
It is quite common for microgreens growers facing the mold issue especially during germination stage, in order to avoid it, we need to understand what are the causes.